Search This Blog

Showing posts with label plastic cams. Show all posts

Thursday, 26 March 2015

Singer 328P sewing Machine

One of the many machines I have acquired recently is a Singer 328P.  When I first started at work we had a Singer 327 that I loved.  Unfortunately it had a cracked zig-zag cam and 327's are straight stitch and zig-zag only.  It was a beautiful chocolate colour and quite a streamlined shape and I set my heart on getting a 328, as they took interchangeable cams and looked the same.  When I saw this machine for sale I knew I had to have it, even though it was grey instead of chocolate brown.  It came with its instruction manual and some of its cams.  It takes the same cams as the 306 and 320 though, so I have plenty of cams that will fit it.  Apparently the previous owner had about 7 machines which her grandson found in various wardrobes, I bought the last two.  I wanted the 328 and got the other one (a Stylist I think it is) thrown in for a reduced price plus all the random bits he had left over.

This is how it looked when I brought it home

Just look at that streamlined shape!
There are unfortunately some chips on the paintwork but they are not rusted so do not look too bad.  The bobbin area was very fluffy, just about solid with lint I think. Cleaning bobbin arrangements like this is not my favourite pastime as they are very awkward but it is pretty good now.

Bobbin area before cleaning.
I have not taken the base off a machine like this for a while and I had to guess with it, you simply unscrew the screws circled in the below photograph.

Base, showing which screws to remove.
Under the base cover is fairly typical for a drop in bobbin with oscillating hook.
Bobbin area from underneath, before cleaning.

Under the base cover, showing bobbin and feed mechanisms.
Under the face plate was not too dirty but was very dry.

Under faceplate before cleaning.
The gears under the top cover had been very well greased and the surrounds were liberally sprayed in grey!


Finally I wiped the machine down with a cloth dipped in methylated spirits.

Beautiful 328 after cleaning

Showing cam mounting and follower.
The machine is very quiet when it runs and it stitches very nicely.  I cannot wait to have enough time to be able to sew something on it!

Thursday, 22 May 2014

Janome and Husqvarna 250

I've had a long absence due to occurrences beyond my control.  However, last Saturday I had these two machines to work on.  I haven't sewn with either yet, depending on what happens I should be able to get to it on Saturday.

The Husqvarna is an Electronic model 250.  I can't easily take it apart but there was a big knot of thread in the bobbin area.


This machine is white and very reflective so it took very bad photos, I might try it outside on Saturday.


The other machine (and apparently they did come from the same owner) is a Janome.  It doesn't seem to have a model number but looks like it's somewhere between lovely old Janome and modern less than lovely Janome.  This one has some plastic cams.


Under the faceplate is pretty standard.


Interestingly this has one of the throat plates that automatically adjust for straight stitch or zigzag.


The bobbin area was slightly fluffy and it's a full-rotary machine as well.


From the front and showing stitch selection.


Hopefully I'll be able to get both these machines out for sale this week end!

Thursday, 24 April 2014

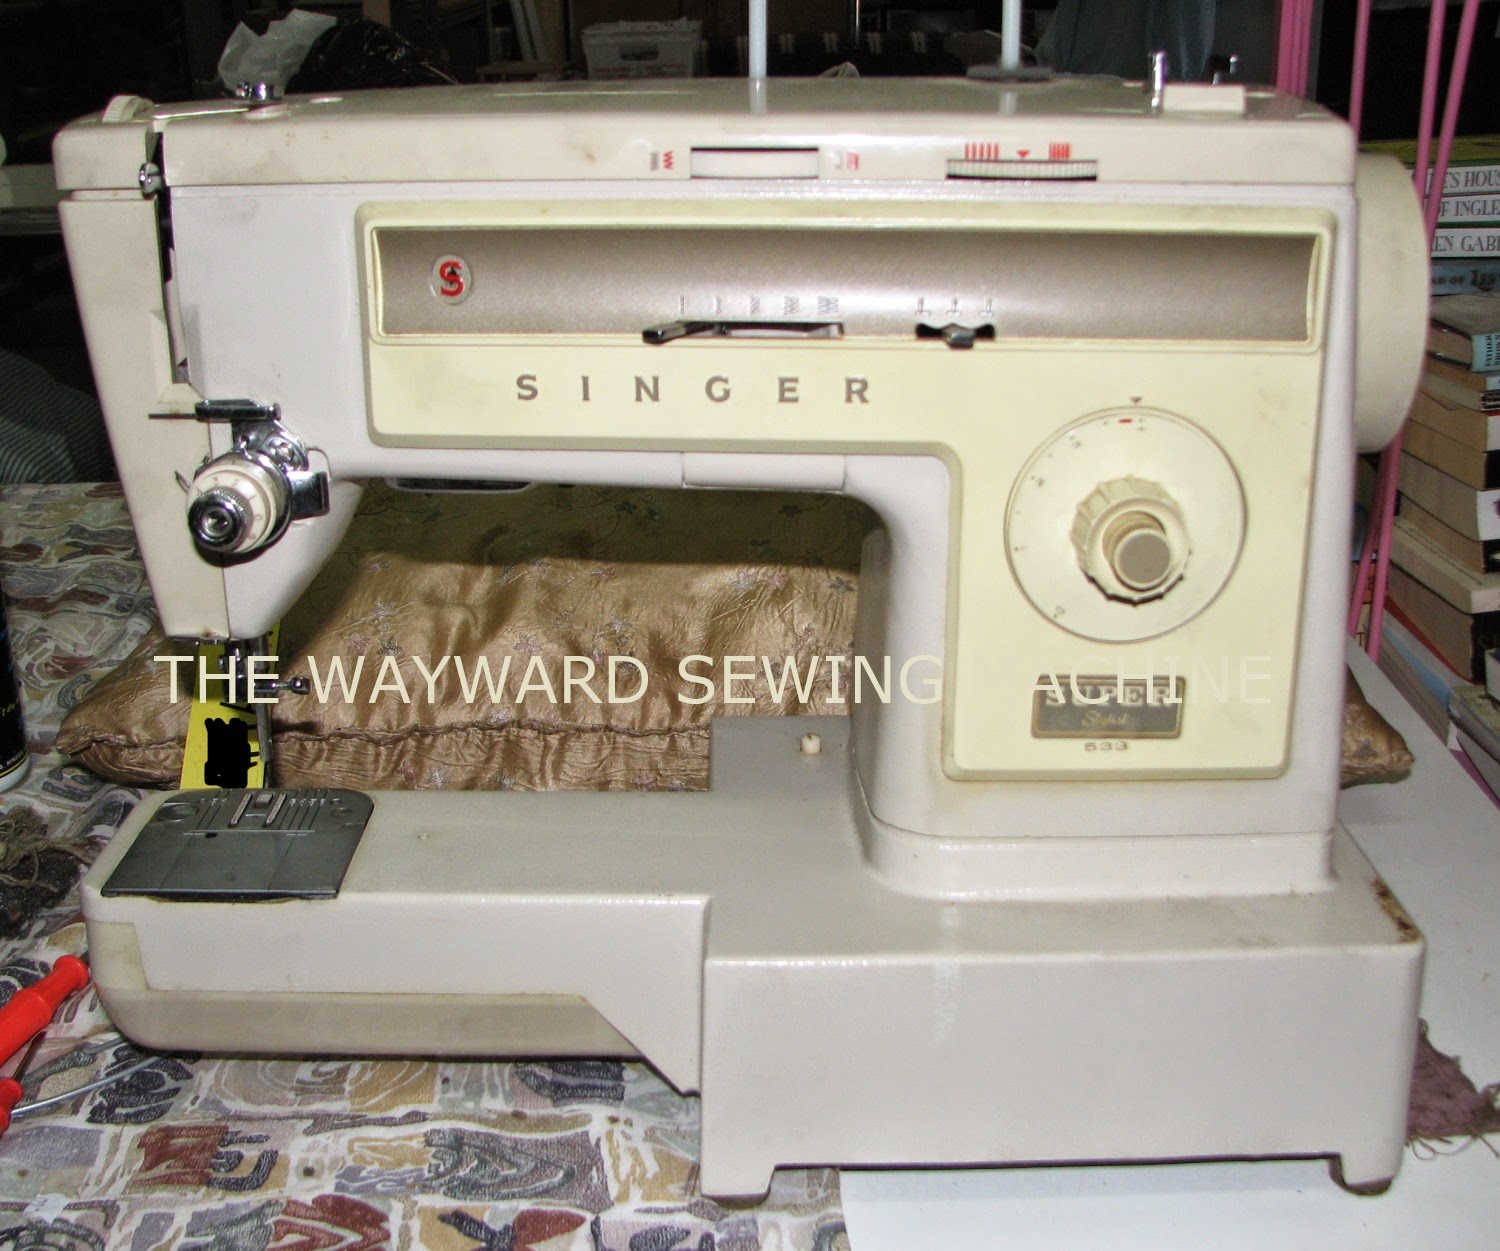
Singer Super Stylist 533

I have had yet another machine donated this week!  Unfortunately it is very similar to last weeks machine - just in worse condition!  The new machine is a Singer Super Stylist 533 and very similar to the machine I learnt to sew on.  This machine also has plastic gears, one of which is a completely different colour and I suspect it may have been replaced.


The white gear on the right I think is new.


As you can see from the above photos the machine left a fair bit to be desired when it came to cleanliness!  The bobbin area was packed with lint, every time I thought it was finally clean I found another piece.


There is something not quite right with this machine, I think maybe it just needs the oil to sit for a while as it was very dry.  It's kind of sticky and the reverse was jammed, although I freed that up.  Under the top cover and faceplate all looked good and the cams all looked crack free, not that they are exactly easy to look at under the white selection disc!


Underneath apart from being dirty, dry and plastic everything looked good.


I annotated the photo above to give some idea of the layout of the machine.

From the front it's rather a ho-hum machine, it might look better if I had better photos and had remembered to take one AFTER I cleaned it!  This machine also has a hard cover, some accessories and an instruction manual, it's not all bad!


My mother made these very cute owl mittens for her sister.  They are Tunisian crochet and I think they are absolutely adorable, I love the green eyes.


Saturday, 19 October 2013

Husqvarna 6230 gears

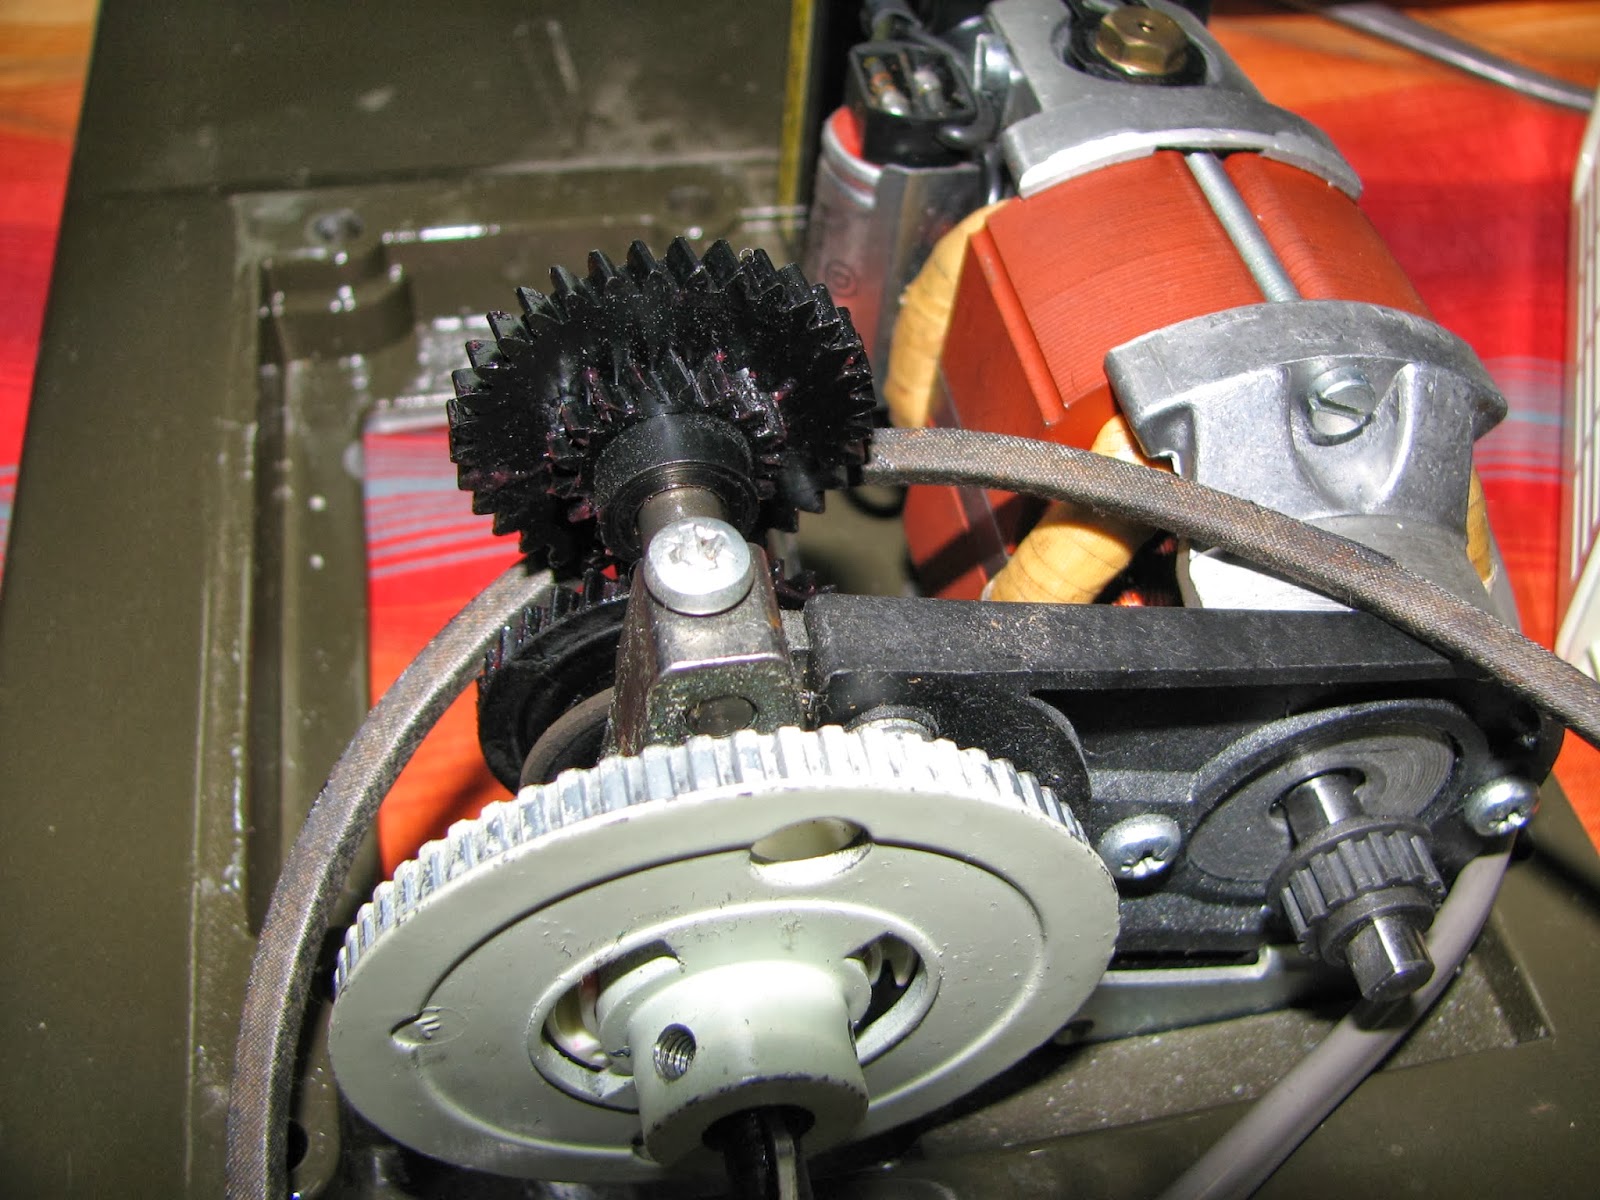
Husqvarna 6230's are one of the Husqvarna's with two gears.  This means that the motor can run constantly at the optimum speed but the machine will go slower.  This particular Husqvarna is not in particularly good condition however it should work currently.  After a clean and lubrication I discovered that two of the cams were hopelessly cracked.  Therefore this machines days are seriously numbered.  When the machine was plugged in and ran a horrible grating noise made itself apparent.  I managed to trace the noise to under the side cover.  To get the side cover off one has to pop the hand-wheel off and take two screws out, then the fascinating gear and pulley arrangement is seen.
Pulley and gear arrangement, the motor is on the right.
 
When I took this photo I had already taken the little plastic cap which is screwed in by two screws off.  Now that I could see a bit better what was going on I took the entire machine off its base.  This is probably not essential but makes visibility a lot easier.  I was now left with this:
 
The black belt connects the gears and pulley to the main drive of the machine.  When you have unscrewed the machine from the base tip it downwards slightly to facilitate getting that belt off.  I have also taken the toothed belt that runs from the motor to the pulley off.  Now take the white cover off and follow with the grub screws holding the pulley on.
 
Now by rotating the pulley until one of the holes is positioned directly over each of the screws on the right hand side in turn and removing them you can get the whole gear set up out.  You should now have this:

 
This can now be pulled apart even further:
 
I pulled mine apart and lubricated everything that could possibly move.  I then re-assembled it and put it back on the machine.  I'm not exactly sure what was wrong with it but it doesn't grate any more unless you apply a force when it is turning.  I suspect there is a small clearance somewhere but although I tried for quite a while to find it I was unsuccessful.  It's almost ready for sale now, at a reduced price because of the cracked cams.


I will hopefully be uploading a manual for one of these shortly.  Has anyone out there sewed with one of these in better condition?  What are they like?