Search This Blog

Showing posts with label belt drive. Show all posts

Saturday, 4 October 2014

Elna Supermatic

Due to the amount of studies I have had recently, I had about a week were I did not work.  When I went back in on a Saturday morning there were three machines awaiting me.  One was a modern Brother overlocker, with no pedal (I'm yet to decide what I'm going to do with it), one was a Singer 5528, the second of them I've had in as many months and I keep meaning to devote a post to them and the third was in a very square metal case.  There was only one machine I knew for sure came in a metal case (Elna model 1) and this was the wrong colour, so I was extremely excited when I took the machine out.  It was a gorgeous Elna Supermatic, complete with ~11 cams plus the buttonhole attachment, a few feet and the cover plates for the feed dogs.  Half of the case forms the flat bed for the machine and the machine is a knee control (I love knee controls!).  This machine is made in Switzerland and has all metal gears and parts, that I can see, the body is aluminium and consequently the machine is not all that heavy.


It wasn't until a week later I found time to take it home and look at it, there is no way I am selling this machine, I am BUYING it!

Firstly I removed the cover from the free arm and the throat-plate just sprung off, the bobbin loads from the back, I then removed the feed dogs so that I could get the bobbin holder and the hook apart, for ease of cleaning.  The surfaces here have been de-rusted at some period in time as the chrome is less than shiny in parts.


To get the bobbin holder free from the hook there are two little screws (with little springs coiled around them) that need to be removed, they are directly opposite each other and the holes can be seen in the photograph below.  Just be aware they are very springy and are very easy to lose if they spring away somewhere.

 
The next thing I did was remove the base of the machine (remove screws circled in red in image below) so I could see up the pillar, it is incredible.  The motor and all the necessary electrical parts to control the speed of the machine through the knee control are mounted in there.  The motor is geared into the machine much higher up the arm and cannot be seen in the following photographs.


Finally I checked and oiled all the moving parts under the faceplate and cam door.  The faceplate cannot be opened unless the foot is down.  The machine is threaded by passing the thread down the back of the faceplate, through the tension, from back to front, and then through the take-up lever and then as usual.


Whilst I was oiling this machine I noticed it had a hard spot, I thought maybe something wasn't oiled properly but despite oiling all the usual spots the noise persisted.  When I actually plugged the machine in and ran it the noise increased with the speed (as was to be expected) and the machine clunked dreadfully.  It wasn't until a couple of days later I found enough time to go and look at it again.

It came to my attention that the noise was not always in the same place in the machines rotation, this implied the motor was at fault.  Eventually I disengaged the machine from the motor as for bobbin winding and the clunking continued, definitely the motor.  With the base removed it became obvious that every time the machine clunked the entire motor was moving, which it definitely was not supposed to do.  The problem was, how to see up the arm to see the gears?  I did not have the appropriate circlip pliers to remove the handwheel and try and see in that way but eventually remember we had a camera for seeing in confined spaces.  This worked and I can now say that to all intents and purposes it looks as if the gears up there are chipped and resulting in the machine not running smoothly.  When I am finally finished for the year (another 4 weeks) I intend to go through the painstaking process of removing the motor and actually being able to personally see the extent of the damage.  It is annoying to have such a beautiful machine, complete with accessories and be completely unable to use it!!  At least I only have to pay $10 for it as it is completely unsaleable.....!

Thursday, 24 April 2014

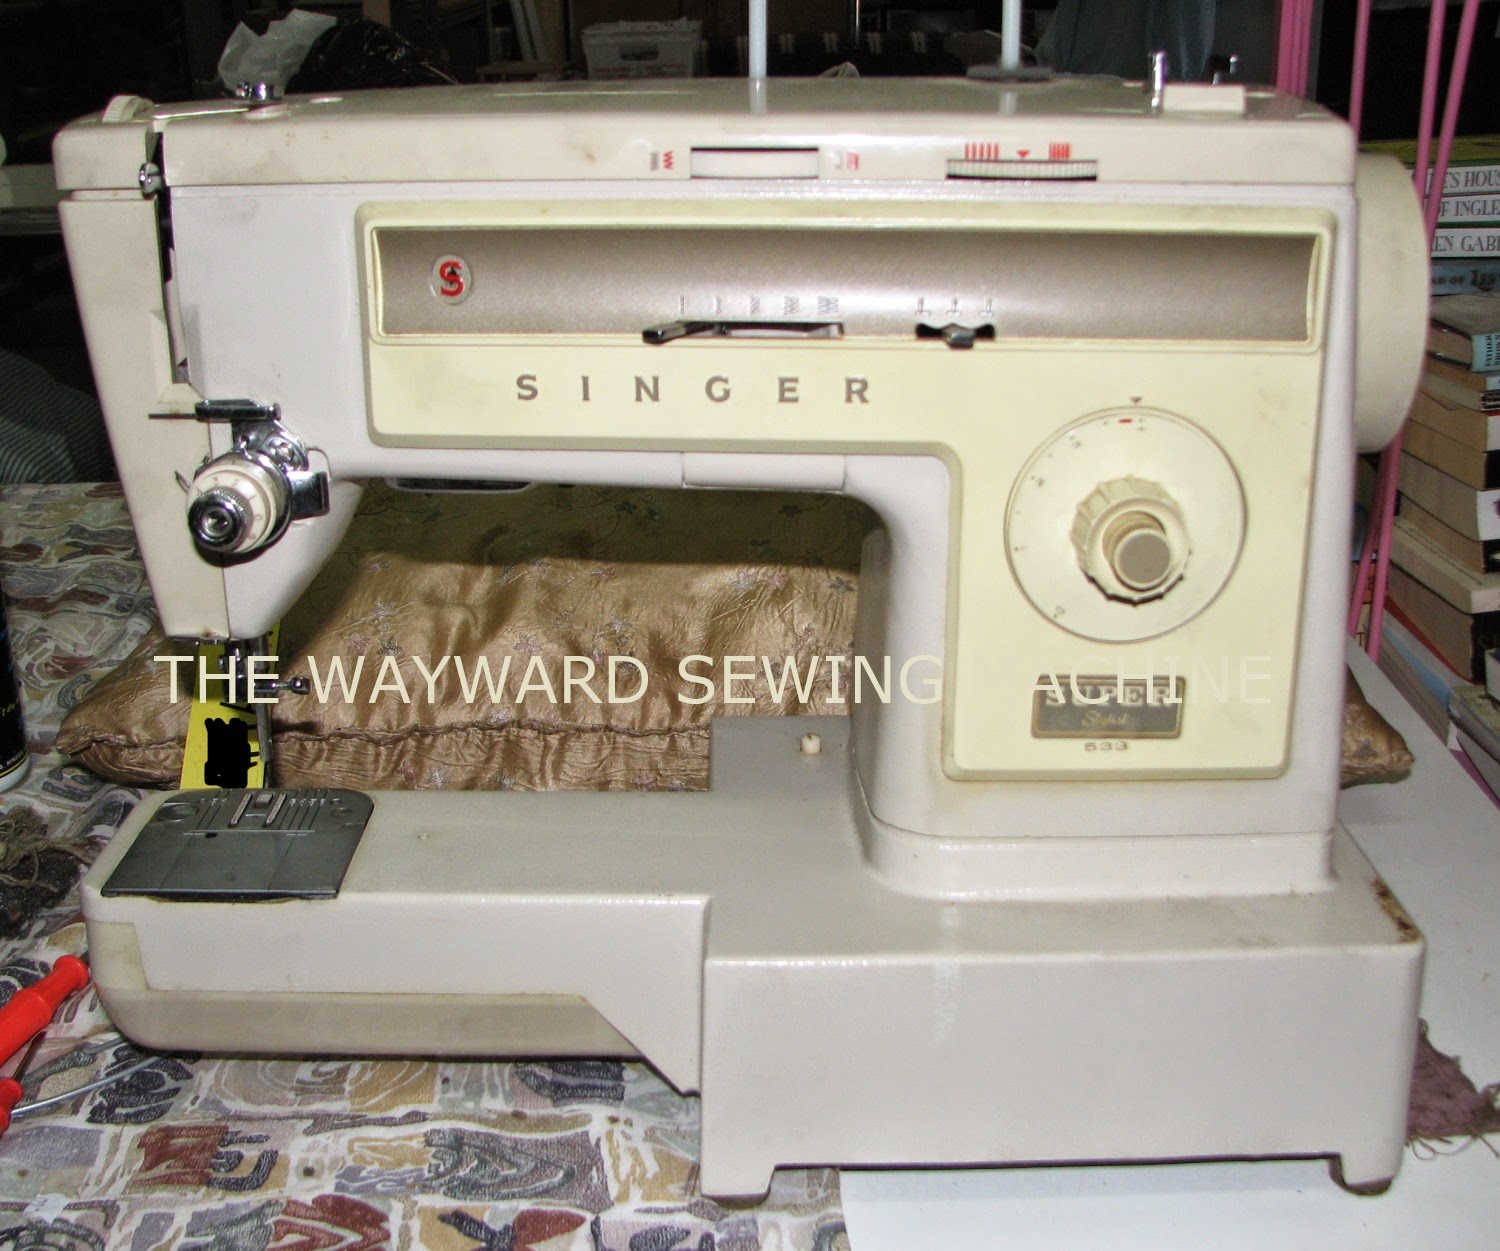
Singer Super Stylist 533

I have had yet another machine donated this week!  Unfortunately it is very similar to last weeks machine - just in worse condition!  The new machine is a Singer Super Stylist 533 and very similar to the machine I learnt to sew on.  This machine also has plastic gears, one of which is a completely different colour and I suspect it may have been replaced.


The white gear on the right I think is new.


As you can see from the above photos the machine left a fair bit to be desired when it came to cleanliness!  The bobbin area was packed with lint, every time I thought it was finally clean I found another piece.


There is something not quite right with this machine, I think maybe it just needs the oil to sit for a while as it was very dry.  It's kind of sticky and the reverse was jammed, although I freed that up.  Under the top cover and faceplate all looked good and the cams all looked crack free, not that they are exactly easy to look at under the white selection disc!


Underneath apart from being dirty, dry and plastic everything looked good.


I annotated the photo above to give some idea of the layout of the machine.

From the front it's rather a ho-hum machine, it might look better if I had better photos and had remembered to take one AFTER I cleaned it!  This machine also has a hard cover, some accessories and an instruction manual, it's not all bad!


My mother made these very cute owl mittens for her sister.  They are Tunisian crochet and I think they are absolutely adorable, I love the green eyes.


Saturday, 26 October 2013

Singer Fashion Mate 362


I got a new machine to work on on Wednesday.  To be frankly honest it's rather ugly but I was intrigued.  It was a Singer Fashion Mate 362 with a garish orange tinge rather reminiscent of faded curtains after a hot summer.  They look like and in design are similar to the Singer Hushmatic 242, equally unattractive I'm afraid!  The Fashion Mate 362 has completely plastic casing, not something I am overly fond of.  Let's get to the nitty-gritty and start to pull it apart.  First of all you need to get the top off, this is fairly simple, there are only two screws holding it on. The second is under the felt disc on the thread spool.

Arrows mark screw positions
 
Now take the belt cover of the side, it's only one screw and a bit of wiggling to get it free.  Next take the handwheel off.  It's the normal type, take the stop-screw out then unscrew, take washer off and slide handwheel off.  The belt will make it hard, just pull!  When you go to put it back on make sure you slip the belt back on the handwheel and then motor before attempting to get it back in position.  When you've taken the top of it'll look like this:
Under top cover
 
Notice the plastic gear nestled inbetween all the metal ones?  And the plastic cams?
 
Now take the back off.  You will need to take off the belt cover and handwheel as described previously.  To take the back off remove the screws marked in diagram.  Tip the machine up and remove the metal light bulb cover, it will only get in the way.  Make sure pressor foot is raised.
Remove screws indicated
 
Now comes the tricky bit.  The casing is plastic remember so you don't want to be careless.  Place your machine as illustrated above and GENTLY lever the left hand side from the base of the casing with a screwdriver.  At the same time (it may help to have two people) grab hold of the right side and pull it towards you.  You should now be able to gently push it to the left and it will come free.  Remember if it gets stuck DON'T FORCE IT, it WILL break.  Now your machine should look like this.
With the back off
 
Now clean and oil your machine.  This one was very dry and I had to give it a thorough oiling.  I also had to clean a lot of rust off the main shaft.  When it's all nice and clean and oiled put it back together again, being careful with that plastic.  Next I cleaned and oiled the base of the machine.  First of all I took it out of its plastic base, this is fairly simple, just remove the two grub screws holding the hinges to the machine.  Next I opened the bobbin plate and took the throat plate out allowing me to access the bobbin and hook area.  To get the bobbin case out lever the piece of metal on the right up and over the screw it is sitting over, as shown in the image below.
 
Now the bobbin case and hook can be cleaned properly.  This machines bobbin case was very rusted so I dealt with that before progressing.  Last of all I turned the machine upside down and cleaned and oiled the base.  These machines have a fabulous belt drive underneath and the belt on this one is in surprisingly good condition - it looks almost new.
Fabulous belt drive.
 
Now all I need to do to this machine is give it a very thorough cosmetic job.  I am guessing someone stored it in a shed or garage for a while because the hard cover and base are very dirty and the locks rusted stiff.  Nothing that a bit of TLC won't fix though!