Search This Blog

Showing posts with label Janome. Show all posts

Thursday, 22 May 2014

Janome and Husqvarna 250

I've had a long absence due to occurrences beyond my control.  However, last Saturday I had these two machines to work on.  I haven't sewn with either yet, depending on what happens I should be able to get to it on Saturday.

The Husqvarna is an Electronic model 250.  I can't easily take it apart but there was a big knot of thread in the bobbin area.


This machine is white and very reflective so it took very bad photos, I might try it outside on Saturday.


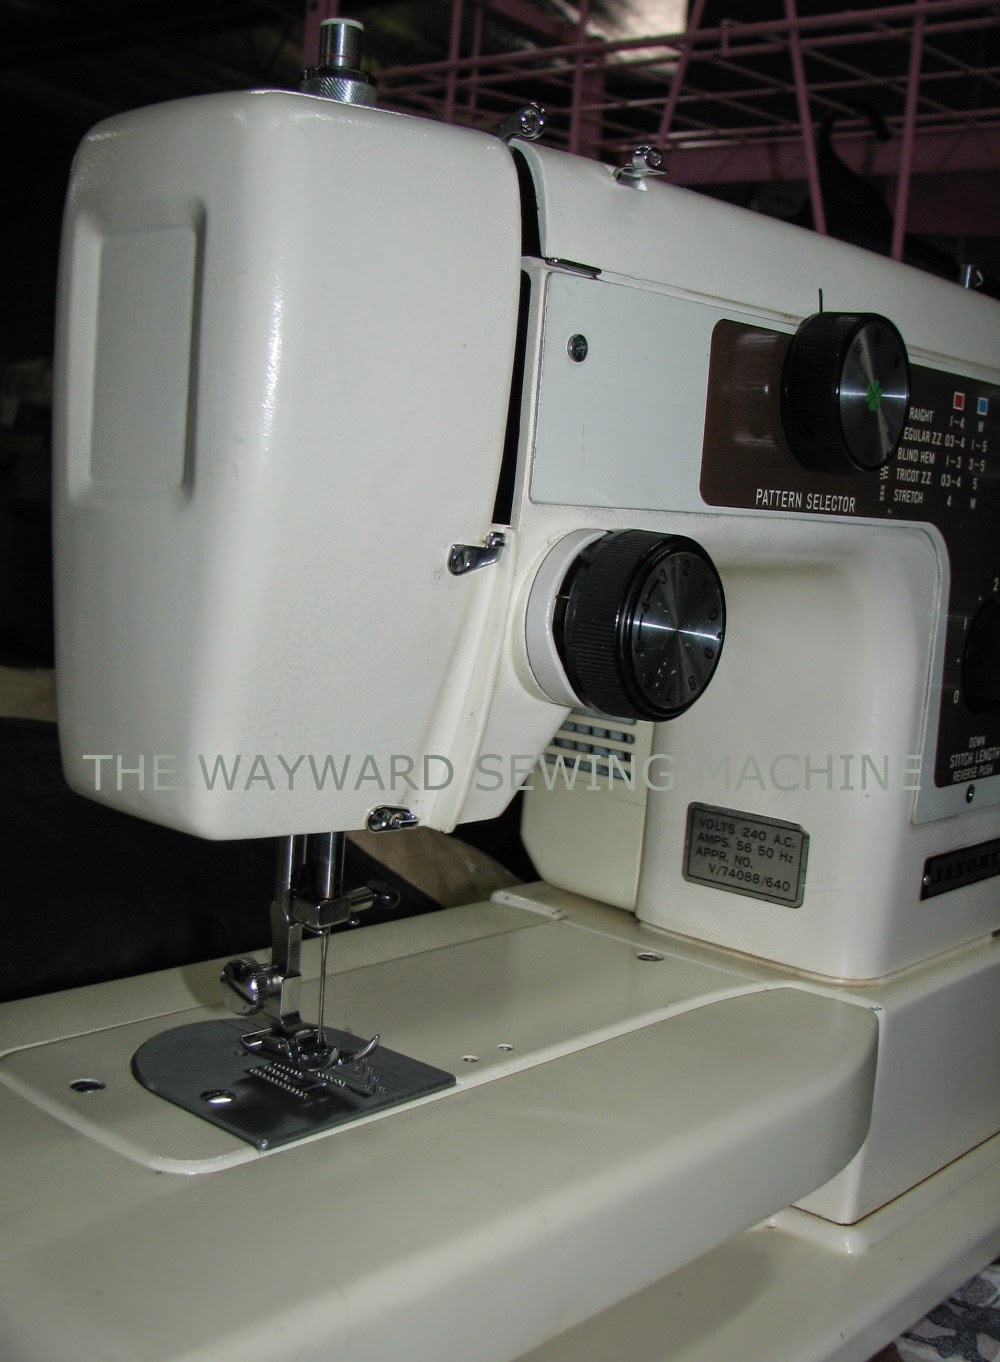
The other machine (and apparently they did come from the same owner) is a Janome.  It doesn't seem to have a model number but looks like it's somewhere between lovely old Janome and modern less than lovely Janome.  This one has some plastic cams.


Under the faceplate is pretty standard.


Interestingly this has one of the throat plates that automatically adjust for straight stitch or zigzag.


The bobbin area was slightly fluffy and it's a full-rotary machine as well.


From the front and showing stitch selection.


Hopefully I'll be able to get both these machines out for sale this week end!

Wednesday, 7 May 2014

The Best Laid Plans......

I got to try the Janome from the last post this afternoon.  It didn't work out quite as planned.  I threaded the machine up and put some material under the foot before turning it on (side note, if you haven't tried a machine before, always put material under it before turning it on, if you have a pedal problem and it sews instantly you won't end up with a thread-lock made in hell).  I put my foot down and the machine started sewing, it was then I noticed the light wasn't on so I took my foot off and reached for the light switch.  The light went on no problems, so unfortunately did the machine, the only thing was my foot wasn't on the pedal.  I learnt the hard way, always plug your machines in so you have easy access to the connection, if using an extension cord make sure you can get to the end your machine is plugged into easily.  In this case I could just turn around and turn the socket off - I didn't even miss a word in the conversation I was having at the time!  If you've seen it enough times you'll know if you get to the power quick enough you don't usually get smoke and the most disgusting smell.  The first time it happened to me I stared at the machine sewing by itself and was brought back to Earth by the plume of smoke wending its way from the pedal.  Not my most intelligent moment!

Anyhow, here are some pictures.


The copper contacts control the amount of electricity going through the carbon pile which is filled with graphite discs.  The copper contacts are positioned by prongs that are moved by putting pressure on the pedal.  When the pedal is fully depressed all the contacts are touching thus full capacity of electricity can flow through.  The blue arrows mark the approximate path of the electricity.


In order to get the capacitor out, you need to remove the two screws outlined in red.  As can be seen above the capacitor doesn't look too healthy.

Once out you will have this:


As you can see above the plastic casing is ruptured and discoloured.  I am hoping to get a new capacitor for this machine as it looked very promising before this!

After leaving work this evening we saw the most incredible cloud and I took some photos, one of which is shown below.


Saturday, 3 May 2014

Another Janome

This morning I spent looking at the machine I got in on Thursday.  As the post title implies it is another Janome.  It's nothing all that fancy but comes with a flat-bed, hard cover, button-sewing foot, clear foot and rolled hemmer.  Considering they normally come minus accessories, flat-bed and cover I'm rather pleased!  The cover was filthy and looked like it had been sitting in a shed however much to my surprise the machine was fine.  There wasn't a speck of dust under the faceplate or top cover.


There is quite a bit of plastic in the machine, as can be seen below.


In order to get to the bobbin gears one has to take the free-arm cover off and then the gear cover.  I couldn't get the gear cover screws off and ended up cautiously prising one corner up just enough to check the gears weren't cracked and then bending it back down again.  In the image below the red circles are where the screws need to be removed to access the gears.


Once cleaned the machine looked very nice from both front and back.


(Did I mention it is dark where I work??!)

The stitch selection knobs are below.  I haven't actually sewn with the machine yet as I had other jobs to do but I hope to on Wednesday.


In other news, I ended up using the Janome XL-II for a project at work the other day.  I had to adjust the contacts in the pedal to get better speed control but once I did that she was a joy to use.  It is such a pity about her cracked gears, I really love her!

Saturday, 8 March 2014

More Janomes!

I have had two Janomes to work on within the space of three days and apparently there is another machine of unknown make coming soon too.  The first, Janome XL-II was donated without a pedal but fortunately I had a spare.  I have to confess that I fell head over heels in love with this machine at first sight.  I love the colour scheme, the long (fold-up) flat-bed, the window for ease of bobbin changing and just about everything else about it.  I didn't realise until after I had started taking the machine apart that all the feet were hidden under the top.  Unfortunately it is also missing the standard foot and the shank that the feet clip onto.  Inside the machine is mind boggling!  There are lots and lots of parts all layered on top of eachother.  I didn't have my camera with me when I took the machine apart so sadly there are no photos of the insides at the moment.  Very sadly in the process of servicing the machine I discovered that the bobbin gear is badly cracked so I'm not sure I'll be able to sell it.  I did do some stitching with it today, it feels a little sticky which I'm not sure it's supposed to but it makes a reasonable stitch.

Front view

This machine has a lot of stitches, some I haven't even seen before!

Press the button once you get this handy chart...

...press the button twice and all the accessories appear!

The second Janome is very similar to the one I had timing issues with a few weeks ago.  Fortunately this one is absolutely fine in that department.  Interestingly when I received it, it had a jammed feed mechanism.  I first noticed that the reverse wasn't working and in trying to find out what was wrong with it discovered that it wasn't feeding at all.  I ended up pulling a similar machine out and looking at how everything should work and then looking at what wasn't in my current machine.  Unfortunately I didn't have my camera with me then either so no pictures.  Eventually the application of plenty of lubricant and force had the reverse lever springing backwards and forwards and the machine feeding nicely.  This machine also came with a flat bed which is handy, they often don't.  For $40- someone will have a nice machine!

Front view, all clean and shiny!

Back view, I remembered not to smudge the writing with metho!
I'll leave you with this lovely picture from the garden yesterday morning.  It's an Autumn Snowflake, a bit early but maybe it is saying we won't have any more hot weather!


Saturday, 15 February 2014

Some more disasters!

I apologise for my long abscence, the last couple of weeks have been hectic.  I'm determined to get some (any) time to sew tonight, I want a new top to wear on Monday.

Today I spent a very unsuccessful couple of hours trying to make these machines behave.  They are both Janome's, in fact I think that makes a total of three Janome's I have had that have had this issue.  They both skip, one moderately the other so badly it's hilarious.  I decided that considering there doesn't seem to be anything else wrong it must be the timing, my first problem was being unable to find a timing mark.  Is it just me or do most machines not have a timing mark?  Anyway, I started with what I shall call Janome1, it is a front loading oscillating machine and to be truly honest I had no idea how to time it.  I looked at it a bit and decided that my best bet was disconnecting the connector rod that connects the top to the bottom, as per picture below.


I managed eventually to get it back together but it still doesn't want to play nice!  I think it's slightly better and I think maybe I just have to tweak it repeatedly until it works but I'm not over happy with it.
This machine was unfortunately made with plastic gears and cams but fortunately they're all in one piece so far.


Machine no 2 was another Janome, Janome2.  It is apparently a 'Heavy Duty' computerised machine, not that I thought those two phrases could exist comfortable together when talking about sewing machines!  It is a top loading full rotary machine.  For some reason the hook is actually striking the needle and the net result is something that looks like extra-long basting stitch.  Not all that practical when you're trying to sell a machine!  I'm wondering if I've got the needle in correctly but I have it mounted flat to back and I really can't see it differing.  I tried re-timing it by adjusting the belt that connects the top and bottom but it was mighty unsuccessful.


The little electronic bits fascinate me although I know they are an absolute pain if they break.


 I think this machine has had a bit of a beating, the throat-plate is badly hacked from needle strikes and the plastic base of the hook (which I forgot to take photos of) is scratched to shreds almost.


I'll try and post a bit more regularly again but finding the time is hard!